
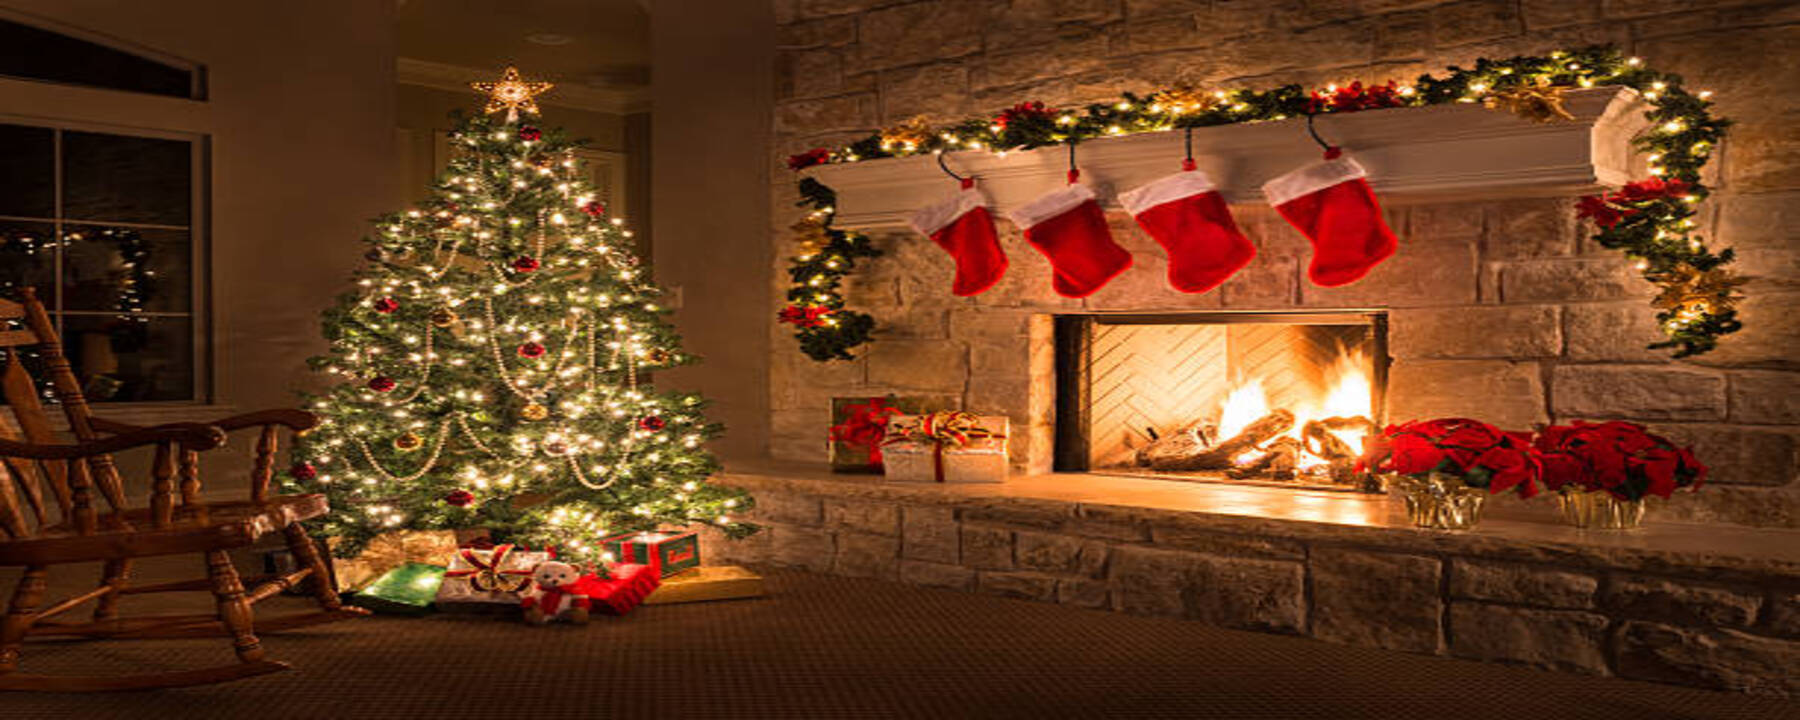
As the holiday season approaches, many of us yearn to infuse our homes with the warmth and cheer of Christmas spirit, but sometimes, budget constraints can pose a challenge. Fret not! Transforming your living space into a festive haven doesn’t have to come with a hefty price tag. In fact, with a dash of creativity and resourcefulness, you can achieve a merry and budget-friendly Christmas decor. In this guide, we’ll explore six delightful and affordable ideas to deck the halls without breaking the bank. From DIY ornaments to thrift store treasures, these suggestions promise to sprinkle your home with holiday magic, proving that a festive ambiance can be both joyful and cost-effective.
Here are six budget friendly and creative Christmas decor ideas for your home:
DIY Paper Snowflakes
Cranberry Candle Centerpiece
Pinecone Ornaments
Mason Jar Candle Holders
String Lights Everywhere
DIY Garland
DIY Paper Snowflakes
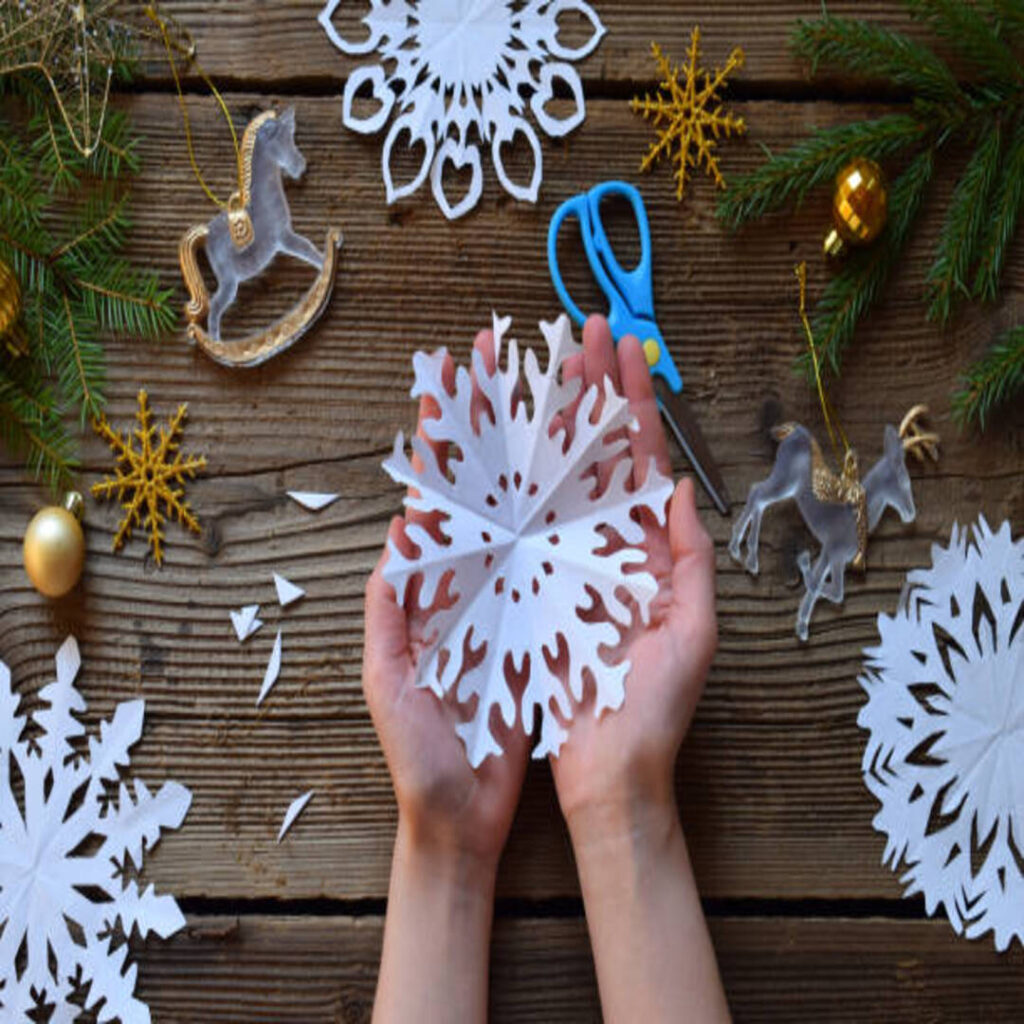
Creating DIY paper snowflakes is a classic and cost-effective way to add a touch of winter magic to your home. Here’s a step-by-step guide to making your own paper snowflakes:
Materials Needed:
White paper (standard printer paper works well)
Scissors
Pencil
Ruler (optional)
Hole punch (optional)
String or thread (if you want to hang your snowflakes)
Instructions:
Prepare Your Paper: Start with a square sheet of white paper. If you’re using standard printer paper, you can create a square by folding one corner of the paper diagonally to meet the opposite edge. Trim off the excess paper and unfold.
Fold the Paper: Fold the square in half to create a rectangle, then fold it in half again to make a smaller square. You can repeat this process if you want an even smaller snowflake.
Create a Triangle: Hold the folded paper with the closed corner at the bottom. Take the right corner and fold it across to meet the left corner, forming a triangle.
Divide the Triangle: Imagine the triangle as having three equal sections. You can use a ruler or just estimate. Make light pencil marks along the edges if needed.
Design Your Snowflake: Using the pencil, draw a pattern on the folded triangle. Be creative! Traditional snowflake patterns involve geometric shapes and curves. You can experiment with different designs.
Cut Along the Lines: Carefully cut along the lines of your design, making sure not to cut through the folded edge. Leave some parts connected to maintain the structural integrity of the snowflake.
Unfold Your Snowflake: Carefully unfold the paper to reveal your unique paper snowflake. If you used pencil marks, you might want to erase them at this point.
Optional: Add Details: Use a hole punch to create small holes in the snowflake, or trim the edges to add more intricate details. These details will allow light to shine through, creating a beautiful effect.
Hang or Display: Once you’re satisfied with your snowflake, you can attach a string or thread to one of the points and hang it up. You can create multiple snowflakes and hang them at varying lengths for a whimsical display.
Get creative and enjoy the process of making your own unique paper snowflakes to add a festive touch to your home during the holiday season!
Cranberry Candle Centerpiece

Creating a cranberry candle centerpiece is a simple and elegant way to add a festive touch to your holiday table. Here’s a step-by-step guide to making a cranberry candle centerpiece:
Materials Needed:
Clear glass bowl or vase
Fresh cranberries
Water
Floating candle or pillar candle
Optional: Greenery, pinecones, or additional decorative elements
Instructions:
Select a Container: Choose a clear glass bowl or vase of your preferred size and shape. The transparency of the container will showcase the vibrant red color of the cranberries.
Add Fresh Cranberries: Fill the chosen container with fresh cranberries. The cranberries will serve as a base for the candle and add a pop of color to your centerpiece.
Insert the Candle: Place a floating candle or a small pillar candle in the center of the cranberries. If using a pillar candle, make sure it is tall enough to rise above the cranberries.
Fill with Water: Carefully pour water into the container, ensuring that the cranberries are covered. The water will help the floating candle stay afloat and create a visually appealing display.
Optional Additions: Enhance your centerpiece by adding additional elements such as greenery, pinecones, or small ornaments. Tuck them between the cranberries to create a fuller and more festive look.
Adjust and Arrange: Position the candle and any additional decorations until you achieve a pleasing arrangement. Make sure the candle is centered and secure in the cranberries.
Light the Candle: Once you are satisfied with the arrangement, carefully light the candle. The warm glow combined with the cranberries creates a cozy and inviting atmosphere.
Display: Place your completed cranberry candle centerpiece on the center of your dining table, coffee table, or any other desired location. It makes a beautiful and festive focal point for your holiday decor.
Maintain Water Level: Keep an eye on the water level in the container, especially if using a floating candle. Add more water as needed to ensure the candle remains afloat.
This simple and charming centerpiece adds a touch of elegance to your holiday decorations and can be easily customized to fit your personal style.
Pinecone Ornaments
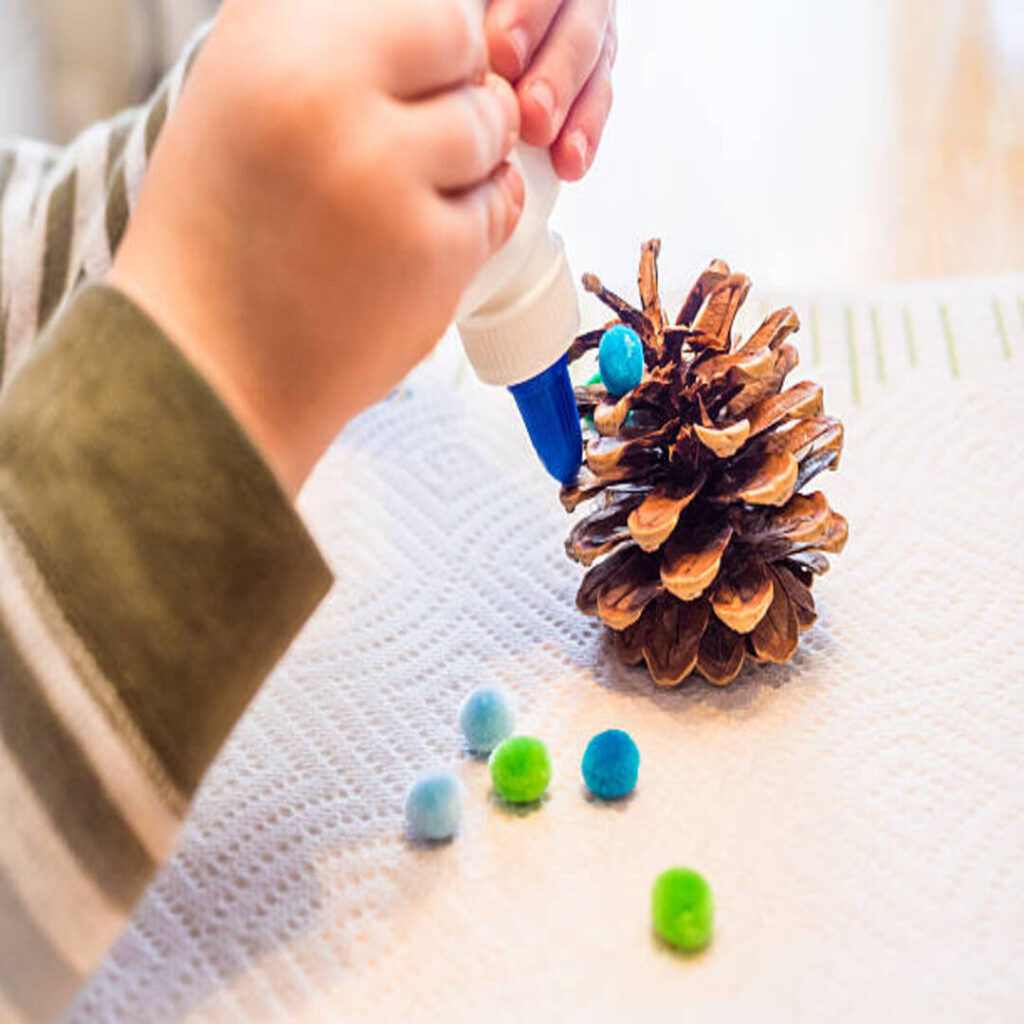
Creating pinecone ornaments is a delightful and nature-inspired way to decorate your home for the holidays. Here’s a step-by-step guide to making pinecone ornaments:
Materials Needed:
Pinecones (gathered from your yard or purchased)
Acrylic paint (optional)
Paintbrushes (if painting)
Glitter (optional)
Craft glue
Ribbon or twine
Small eye screws or ornament hooks
Newspaper or a drop cloth
Instructions:
Collect or Purchase Pinecones: Gather pinecones from your yard or purchase them from a craft store. Ensure they are clean and free from debris.
Prepare the Pinecones: If the pinecones are dirty, you can clean them by gently shaking or brushing off any loose debris. You can also bake them on a foil-covered tray at a low temperature (around 200°F or 93°C) for 30 minutes to eliminate any critters or sap.
Paint (Optional): If you’d like to add color to your pinecones, use acrylic paint. Choose traditional holiday colors or create a custom palette. Let them dry completely on newspaper or a drop cloth.
Add Glitter (Optional): For a festive touch, apply craft glue to the edges of the pinecone scales and sprinkle glitter over them. Shake off the excess glitter and let it dry.
Attach Eye Screws or Hooks: Screw small eye screws into the top of each pinecone, or use ornament hooks to easily hang them on your tree.
Tie Ribbon or Twine: Cut a piece of ribbon or twine to your desired length. Thread it through the eye screw or ornament hook and tie a knot, creating a loop for hanging.
Personalize (Optional): Add small decorations like bows, mini ornaments, or faux berries to personalize your pinecone ornaments further.
Hang and Enjoy: Hang your pinecone ornaments on your Christmas tree, garlands, wreaths, or any other desired locations. They also make lovely additions to holiday gift wrapping.
Craft with Kids (Optional): If you’re making this a family activity, involve children in the process. Let them paint the pinecones or add their creative touch with glitter and decorations.
Display Creatively: Pinecone ornaments don’t have to be confined to the Christmas tree. Consider placing them in bowls, hanging them from chandeliers, or incorporating them into your overall holiday decor.
Pinecone ornaments not only add a rustic charm to your holiday decorations but also allow you to bring a bit of the outdoors inside. Have fun creating these simple yet beautiful ornaments!
Mason Jar Candle Holders

Creating Mason jar candle holders can be a delightful and creative DIY project. These candle holders can add a rustic and charming touch to your home decor or serve as personalized gifts. Here’s a simple guide to help you make Mason jar candle holders:
Materials Needed:
Mason jars (any size or shape you prefer)
Acrylic paint or spray paint
Paintbrushes or sponge brushes
Sandpaper (optional, for distressing)
Painter’s tape or stencils (optional, for creating designs)
Clear sealer (optional, for protecting the paint)
Decorative elements (e.g., twine, ribbon, beads)
Tea light candles or battery-operated LED candles
Instructions:
Clean the Jars: Make sure the Mason jars are clean and dry. Remove any labels and adhesive residue.
Painting: Choose a color scheme that complements your home decor, apply a layer of paint to the exterior of the Mason jar using a paintbrush or sponge brush. You may need multiple coats for full coverage. Let the paint dry completely between each coat.
Optional: Distressing: If you want a distressed look, lightly sand the painted surface once it’s dry. Focus on edges and raised areas to reveal the glass underneath. Wipe away any dust from sanding.
Designs: Use painter’s tape or stencils to create patterns or designs on the Mason jars. This step is optional and depends on your preferred aesthetic. Paint over the tape or stencil, and once dry, carefully remove them to reveal the design.
Sealing (Optional): To protect the paint and enhance durability, consider applying a clear sealer according to the product instructions. This step is optional but can help extend the life of your Mason jar candle holders.
Decorate: Add decorative elements such as twine, ribbon, or beads around the neck of the jar for added charm.
Insert Candles: Place tea light candles or battery-operated LED candles inside the painted Mason jars.
Enjoy: Arrange your Mason jar candle holders on tables, shelves, or any desired location to create a cozy and inviting atmosphere.
Feel free to customize this process based on your preferences and experiment with different colors and designs to achieve the desired look for your Mason jar candle holders.
String Lights Everywhere
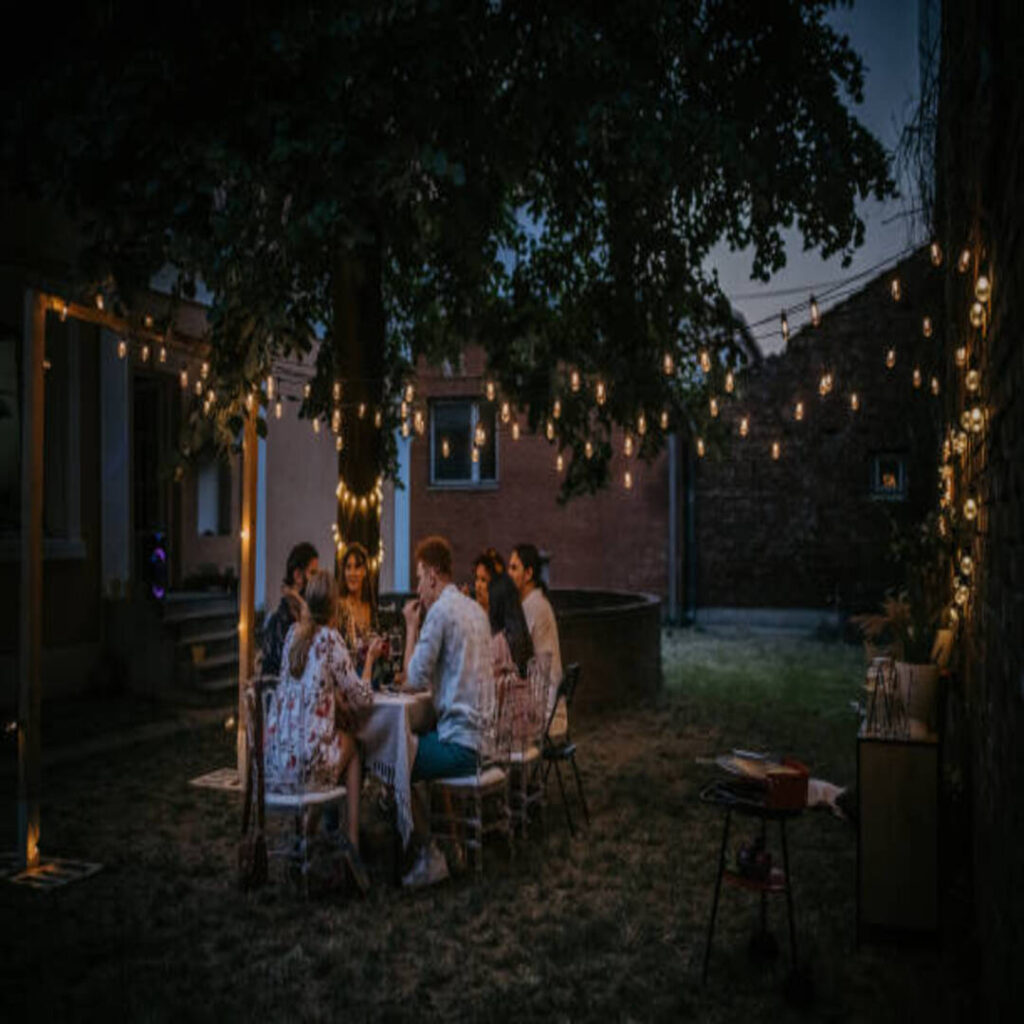
String lights can add a magical and cozy ambiance to any space, creating a warm and festive atmosphere. Here’s a guide on how to decorate with string lights everywhere:
Choose the Type of String Lights: Decide on the type of string lights you want to use. Options include fairy lights, globe lights, Edison bulbs, or LED string lights. Consider the size, color, and style that complements your overall decor.
Plan Your Layout: Determine where you want to hang or drape the string lights. Common areas include:
- Outdoor Spaces: Patios, decks, balconies, fences, and trees.
- Indoor Spaces: Living rooms, bedrooms, dining areas, and staircases.
Measure and Cut: Measure the length of each area where you plan to hang the lights. Cut the string lights to the appropriate lengths, leaving some extra length for securing and connecting.
Secure the String Lights: Use adhesive hooks, clips, or other suitable hardware to secure the string lights in place. Be mindful of the surface where you’re attaching them. For outdoor spaces, make sure the lights are designed for outdoor use.
Create Patterns and Shapes: Get creative with how you arrange the lights. You can:
- Drape them in a zigzag pattern across a wall.
- Create a canopy effect by hanging them overhead.
- Outline windows, door frames, or mirrors.
- Wrap them around tree branches or posts.
Incorporate Other Elements: Enhance the visual appeal by incorporating other elements:
- Sheer Curtains: Hang sheer curtains with string lights behind them for a dreamy effect.
- Mason Jars: Place string lights inside Mason jars for a rustic touch.
- Bed Canopy: Create a canopy over your bed using string lights.
Dimmers and Timers: Consider adding dimmers or timers to control the brightness and set a schedule for when the lights turn on and off. This adds convenience and helps save energy.
Mix and Match: Combine different types of string lights for a varied and interesting display. Mixing warm and cool tones or using lights with various shapes can create a dynamic and visually appealing look.
Safety First: Ensure that the string lights are installed safely, especially if used outdoors. Avoid overloading electrical outlets and use extension cords suitable for outdoor conditions if needed.
Enjoy the Ambiance: Turn on the string lights and enjoy the cozy, festive atmosphere they create. Whether indoors or outdoors, the soft glow can transform any space.
Remember to get creative and have fun with your string light decorations. Experiment with different arrangements and styles to create the perfect ambiance for your space.
DIY Garland

Creating a DIY garland is a wonderful way to add a personalized and festive touch to your home decor. Garlands can be crafted using a variety of materials, and they can be customized to suit different occasions or seasons. Here’s a simple guide to making a DIY garland:
Materials Needed:
Twine, string, or ribbon
Desired decorations (examples below):
Artificial greenery (e.g., pine branches, eucalyptus, holly)
Felt shapes or cutouts
Miniature ornaments
Wooden beads
Fabric scraps
Paper shapes or cutouts
Pom-poms
Dried citrus slices
Pinecones
Bells
LED lights (battery-operated)
Instructions:
Choose a Theme: Decide on a theme for your garland. For example, you could go for a classic winter theme with evergreen branches and pinecones, or a playful theme with colorful felt shapes and pom-poms.
Measure and Cut: Determine the desired length of your garland. Cut the twine, string, or ribbon to the desired length, adding a little extra for hanging.
Prepare Decorations: If you’re using artificial greenery, cut it into smaller sprigs. For other decorations, make sure they are ready for stringing. For example:
- If using felt shapes, ensure they have a small hole or loop for threading.
- For ornaments or beads, make sure they have a hole for stringing.
Stringing: Start threading your chosen decorations onto the twine, string, or ribbon. Mix and match the decorations for a varied and interesting look. Leave a bit of space between each decoration.
Create Patterns: Experiment with creating patterns or arrangements with your decorations. For example, you might alternate between different colors or types of ornaments.
Secure the Ends: Tie a knot or create a loop at each end of the garland for easy hanging.
Add Lights (Optional): If you want to add a warm glow to your garland, consider weaving battery-operated LED lights through the decorations.
Hang and Enjoy: Hang your DIY garland in the desired location. This could be on a fireplace mantel, along a staircase, draped on a wall, or even as a centerpiece on a table.
Personalize: Feel free to personalize your garland further. Add personal touches, such as family photos, handwritten messages, or small trinkets that hold special meaning.
Change with the Seasons: Consider creating garlands for different seasons or occasions. You can easily swap out decorations to match the theme of holidays or events throughout the year.
DIY garlands offer a versatile and creative way to decorate your home, and they can be a fun and engaging project for the whole family.
Conclusion
In conclusion, decorating your home for Christmas doesn’t have to break the bank. The top 6 cheap Christmas home decor ideas often revolve around creativity, repurposing existing items, and DIY projects. From handmade ornaments and wreaths to budget-friendly lighting solutions, these ideas showcase that a festive and cozy holiday atmosphere can be achieved without spending a fortune. Remember, the true spirit of Christmas lies in the joy and warmth shared with loved ones, and your decor choices can reflect that sentiment without compromising your wallet. Enjoy decorating your home for the holidays!